So today is a pretty big update. It's the first actual real work I've done on the model so far. Up until now it's been examining and prepping pieces. So this weekend I started painting the cockpit pieces I have so far and planning for my additional lighting. This post is the culmination of about 9 hours worth of work.
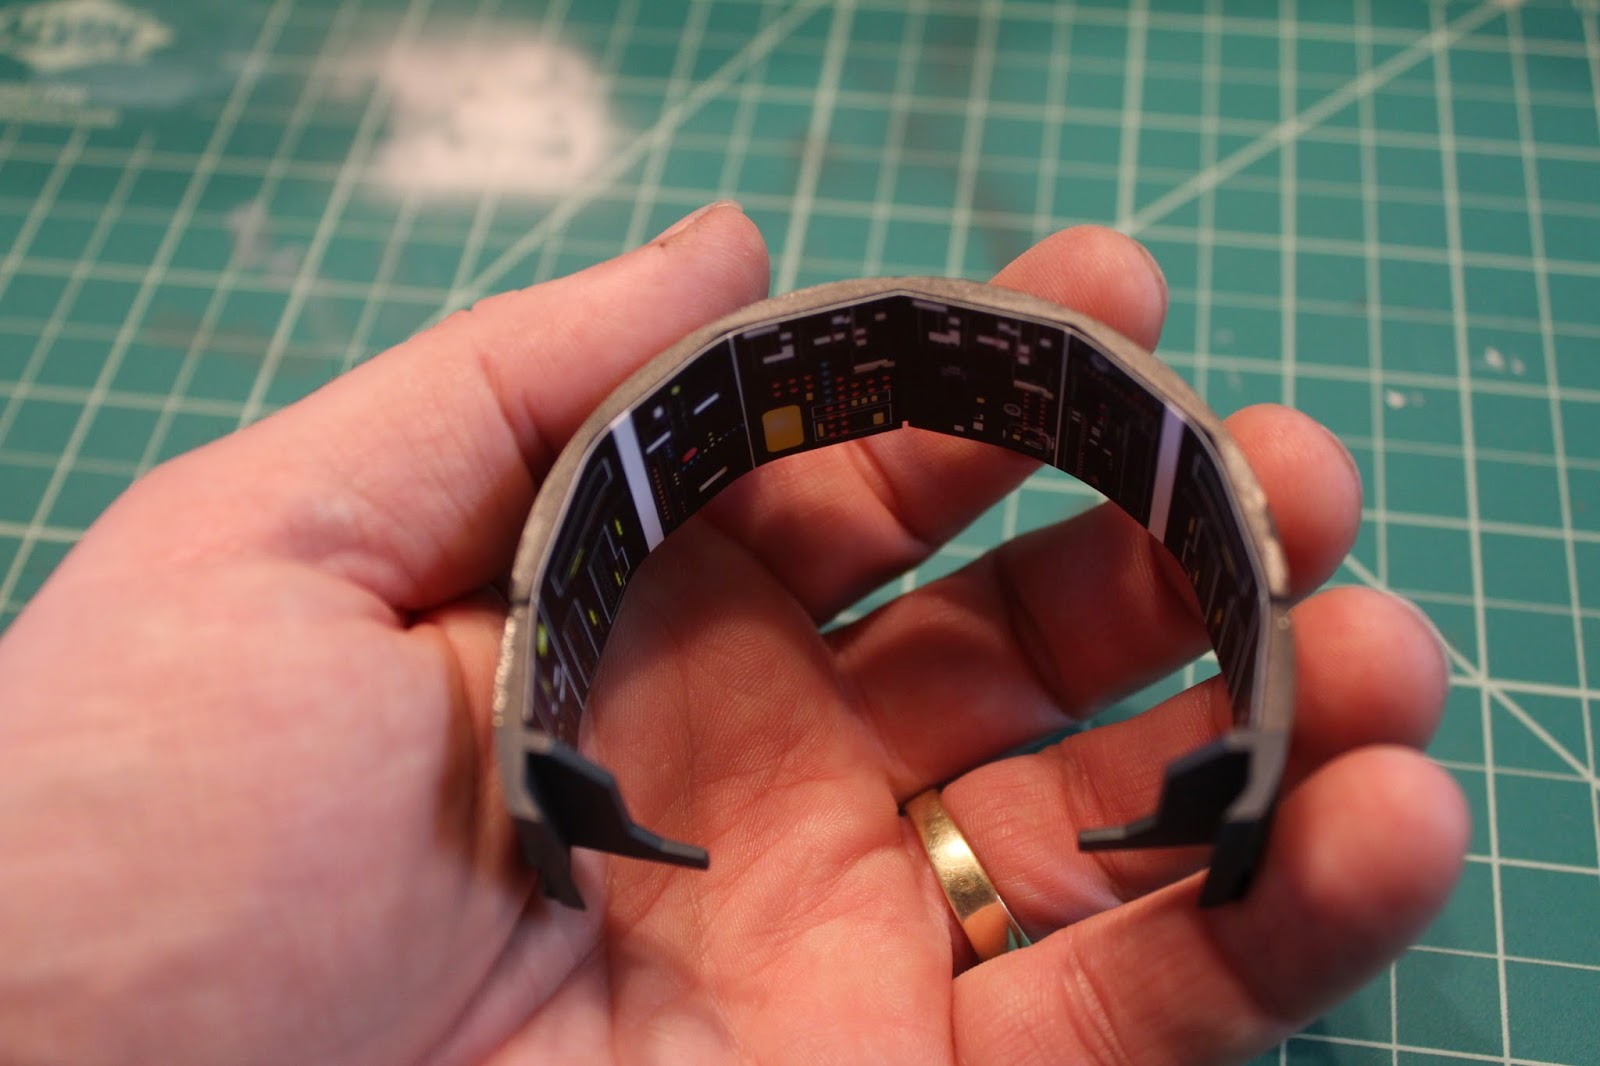
The back of the Falcon has cutouts for the model LED's to shine through.
While I don't have the LED lighting for the back yet, by placing it in front of a light source you can see it illuminate, but much of the color is washed away and it all looks very white or pale blue.
So here I've decided to paint the back side of the console with clear colored paints.
Once finished I have blue, green and some orange to increase the saturation of color once illuminated.
Again, holding the back in front of a light source, you can see much more color now.
So next up is painting the back door, which came painted, but just very nice clean gray. I'm starting off with a tan base coat.
After this base coat, I've applied a wash of brown for texture and grime.
After the brown wash, I did a black wash over it to add yet another layer or dirt and grime. I'm pretty pleased with how the doorway has turned out.
And now I can finally secure it to the back of the cockpit.
Like the back of the cockpit, the front console came with a sticker to place on it. While it's nice looking, there is no lighting and it's very clean looking. The holes seen in the piece are where control shafts will be placed once I receive them.
I plan to drill little holes to run fiber optics into the front console for lights. But the sticker also has an area of a monitor. I want this to be illuminated for realism. So I'm drilling a hole through the plastic in the same area the screen appears on the sticker.
However, this is just a round hole and the monitor is square.
So with a blade, I'm trying to make the hole as square as possible to match the monitor.
Pretty good square shape.
So I've now affixed the sticker to the console and placed the console over a light source to see how the screen will look illuminated. Looks pretty good, but like the back of the cockpit, it's a little under saturated, as the sticker is actually a blue monitor.
So as with the back of the cockpit, I'm painting the back side of the sticker with some clear blue paint.
Much better now. Actually looks like a monitor in the console. My next step in the future will be to drill holes where the white lights are and actually have them illuminate.
Time to paint the cockpit. Seats and cockpit base primed and ready to go.
I've done a coat of aluminum on the back seats and then sealed them with, believe it or not, hairspray, for reasons you'll see later. I've painted a brown color on the pilot seats.
I then painted black over the aluminum and hairspray of the back seats. I did a little sponge painting of tan onto the pilot seats. This I will need to lighten up with another airbrush spray of the brown.
So here's the reason for the hairspray. I am now scraping away the black paint to make the seats appear worn and chipped. By spraying hairspray over the aluminum, it's protecting that paint so that it does not get scraped away as well.
Seats after scraping away.
Now it's time to paint the back and seat cushions. This was done with a light tan color, then I applied a wash of brown over them. Because of paint not being completely dried when doing this, it creates kind of a cool looking texture of cracks in the cushions.
The pilot seats I applied a darker brown wash over them to highlight the cushioned area and did a light dry brush of tan for more worn look and scraping.
The floor and center console of the cockpit I'm airbrushing a dark gray color.
I then applied a black wash for some shading in corners. I also applied weathering pastels using a sponge to create a dirty, oily been around the galaxy quite a few times look.
You can see a little heavier mud look down the center and in front of the seats where there would be the most foot traffic.
One last step for now is painting the little control wheels for the pilot's seats.
Just did some black for the back portion, and a black wash over the metal to look aged and worn.
This last piece is the front of the cockpit which I painted black, then did an aluminum dry brush over the parts to highlight them. Also a bit of rust and mud weathering as well.
So here we have the cockpit so far with the pieces I have. My next shipment of parts should include the rest of the cockpit so that I can finish it off and figure out where I'm going to be placing my fiber optic lighting. So far I'm very happy with how this is turning out.
MUCH MORE TO COME