So lets get started.
First off, was assembling and painting the gunner seats.

Then some primer..


Taped off to airbrush the seat cushions...


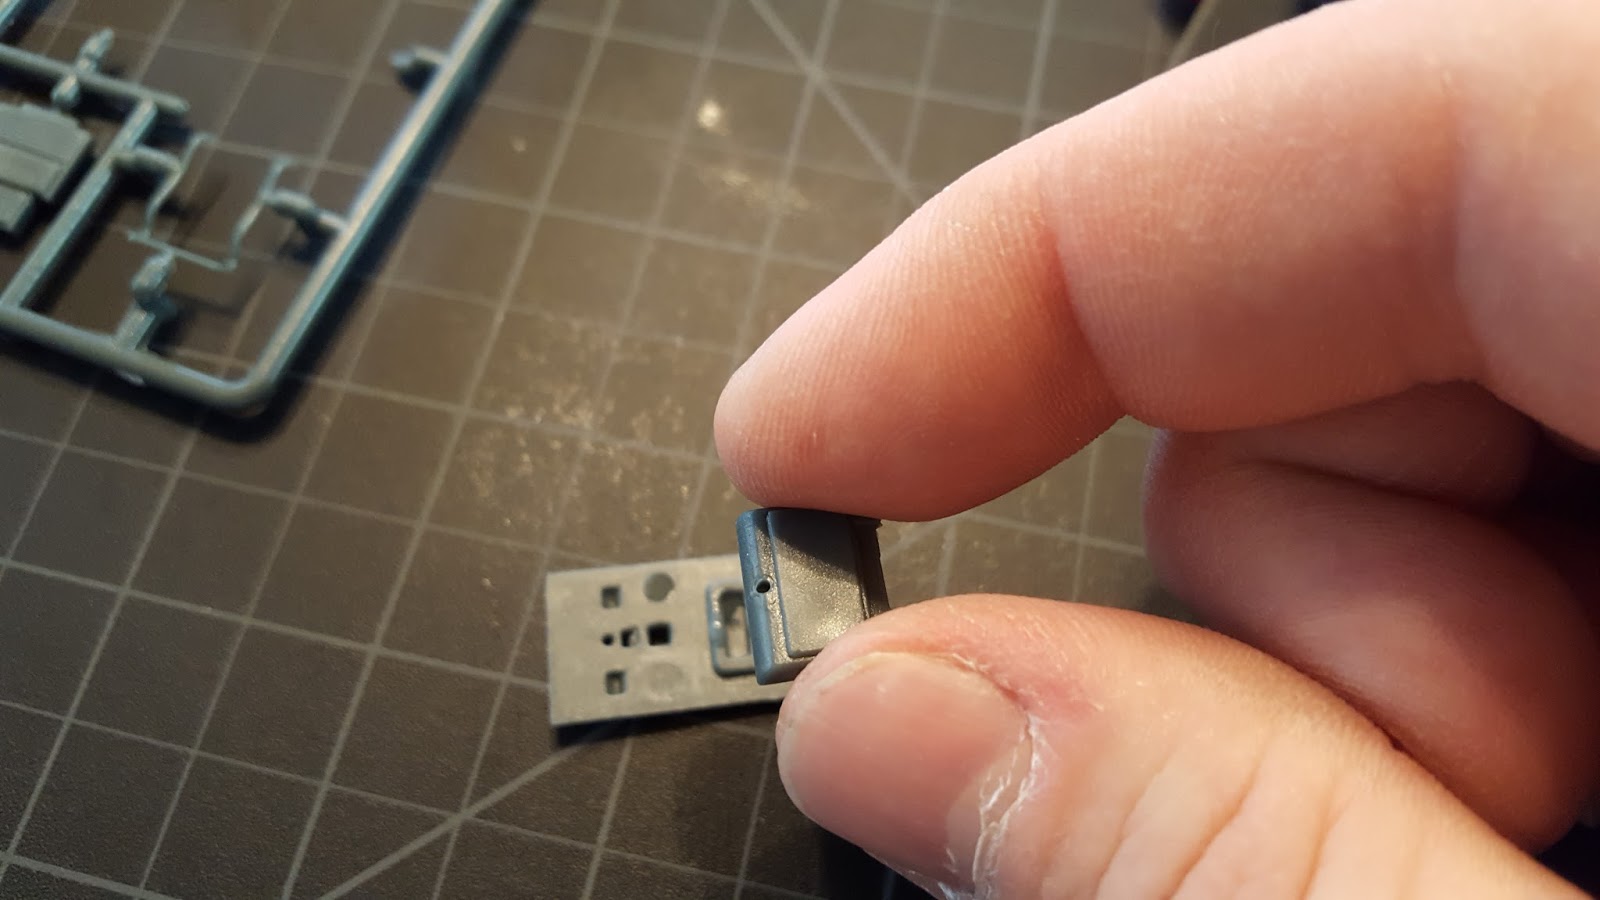
And I"m sure you all remember the screens when the tie fighters attack. I was gonna print one of these out and stick it on the monitor, but it's less than 1/8", and there's no detail at all, so I just put red paint on the screen. And besides, nobody will ever be able to see it once installed in the Falcon. So there's really no point at all, other than I know it's painted.


Little weathering and dirt and seats good to go.


So it's on to the photo etch.


I'm going to actually use the primer as the color of the interior, as it's supposed to be a light gray, and the primer matches very closely.


But I did airbrush the back wall a slightly lighter shade of gray, which can also be seen in the film.

So, with the photo etch, the plan is to paint the back side of the light holes with clear colored paint so light can shine through. To make it completely accurate, I used various frame grabs from the movie, then reversed the image, because I'll be painting the reverse side of the etch. I then scanned the back of the etching and marked in photoshop the colors of the lights for easy reference while painting.


And as you can see, while backlit, it works quite nicely.


So at this point, it's on to detailing the side wall pieces, which is essentially just some dark gray and black highlighting. Not much else other than that.


Then painting the little square panels black...


And here we have the pieces not attached, painted, and light coming through.

Then applying the decals for the inside.


And next, folding the etch into it form.


After glued together and put against black light, there were some light leaks through the seams. So I eliminated the leaks by painting a thick coat of black paint along the seams.

And it all looks pretty good.


Then the seat which was painted earlier is added to the port.

And we have a completed gunner port.


So that's it for now. Feeling pretty good. Accomplished a lot this weekend.
So stay tuned. MUCH MORE TO COME....