Here we are, almost the very end. So, as with all the painting, I start out with priming the upper hull...
As with the lower hull, I also used a dremel and gouged up the battle damage a bit to make it more organic and natural. I also used a wide drill bit to "bowl" out the big round battle damage found on the port antenna side of the ship. The modeled damage is just not good. They're perfectly round circles with a constant depth to them.
And I also did a little scratching around the edges to make them more damaged looking.
And at this point, I'm going to try something a little different. I
want just a slight variation of tone among the panels of the hull. So
I'm masking off, and painting some of the panels with Red Brown, and some with a medium gray. And as I've been doing as of late, I'm pre shading the panel lines by airbrush with black.
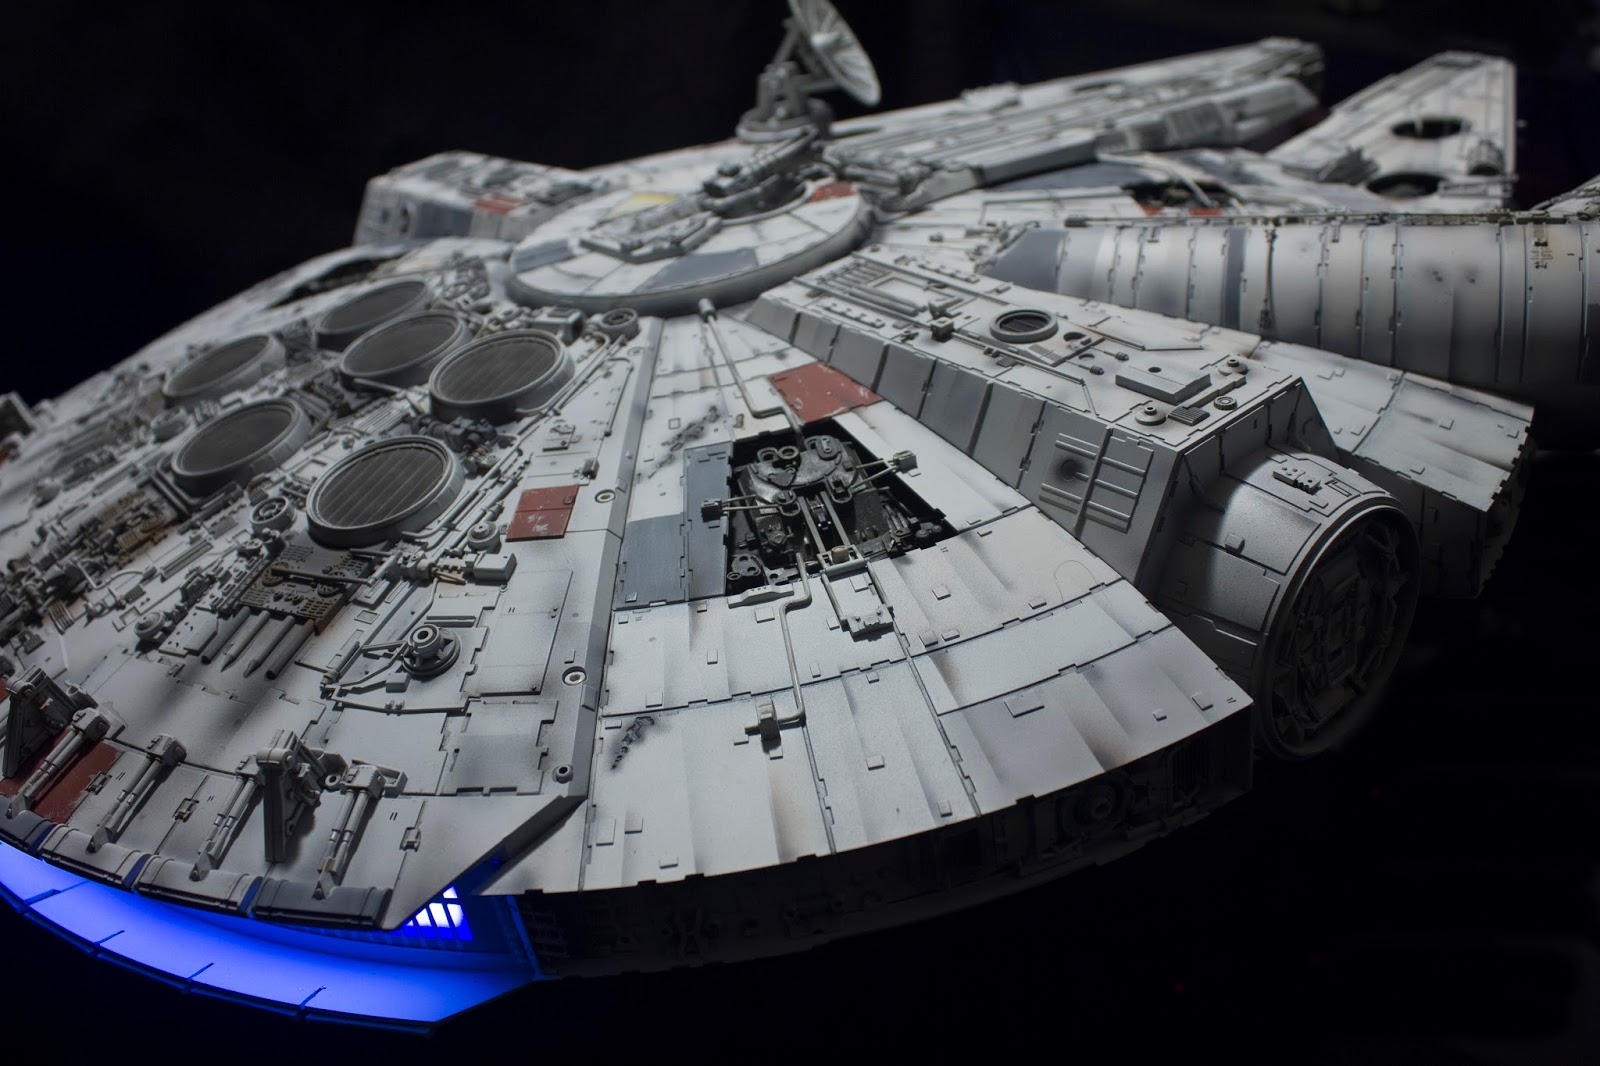
So it's time to spray with the body color of Tamiya AS-20 Insignia White. And you can see in the photo, some of the panels have just a slight tint to them and not totally the white.
So there were over 120 tiny pieces that arrived over many issues that needed to be saved and added to the rear of the upper hull, which is quite detailed. So I'm going to add all of those now.
So I primed the rear engine area and continued on painting the upper hull.
I was now time to attach the cockpit tube to the upper hull so that I could continue painting and weathering in that area.
Time to attach the gunner port to the underside of the upper hull. It's a very tight fit, so I just inserted it in place and it holds all on it's own.
And the gunner port ladder was installed which connects the upper and lower gunner tubes.
I then attached the 2 mandibles to the lower hull using 12 screws.
Now to deal with light blocking. I used black foil cut into strips and secured around the entire ship sides.
At this time I also installed the cargo hold interior into place along with the cockpit corridor area.
And a quick lighting test before attaching the top...
And everything seams to be working fine. So it's finally time to attach the upper hull to the lower hull, just about completing the build.
The upper hull then screwed to the side frames...
and the magnetized sides attached to the frame.
Then it was screwing the camera mount to the bottom of the hull, into the rig I designed to support the ship, and carefully attaching it to the custom table I built to display it in the flying position I've been wanting.
And here we have...
to go to my final blog #33 to see the
FINISHED MODEL