
Next is putting the colored fiber optics through the holes. I don't want to make the front console too busy with lights, so I've chosen to do 10 lights in all, plus the console monitor. At least 2 of these lights will be attached to a blinking LED, the rest remaining constantly lit.

Due to the nature of the fibers, I don't want to use a solvent type of glue, so I'm using regular Elmer's glue to hold the fibers in place. Using super glue may result in damaging the fibers. Once the cockpit is built, there should be no tugging on the fibers and the Elmer's should hold just fine.

There we go. All fibers run.

And now a test lighting of the front console.

This is the LED which I will be using for the front cosole monitor backlight.

The light to backlight the console monitor is a little big to fit behind the console. Having to grind away a groove for the light to fit in.

That should do it.

Drilling a hole which will be under the floor of the Falcon to run the fiber lighting through.


Another little test of the console lighting. Lookin' good.

Time to put the quad laser cannon together.


Primed and ready to paint.

Notice, there are no holes where the lasers would come from. Gotta fix this.

Nothing a very little Dremel bit can't fix.

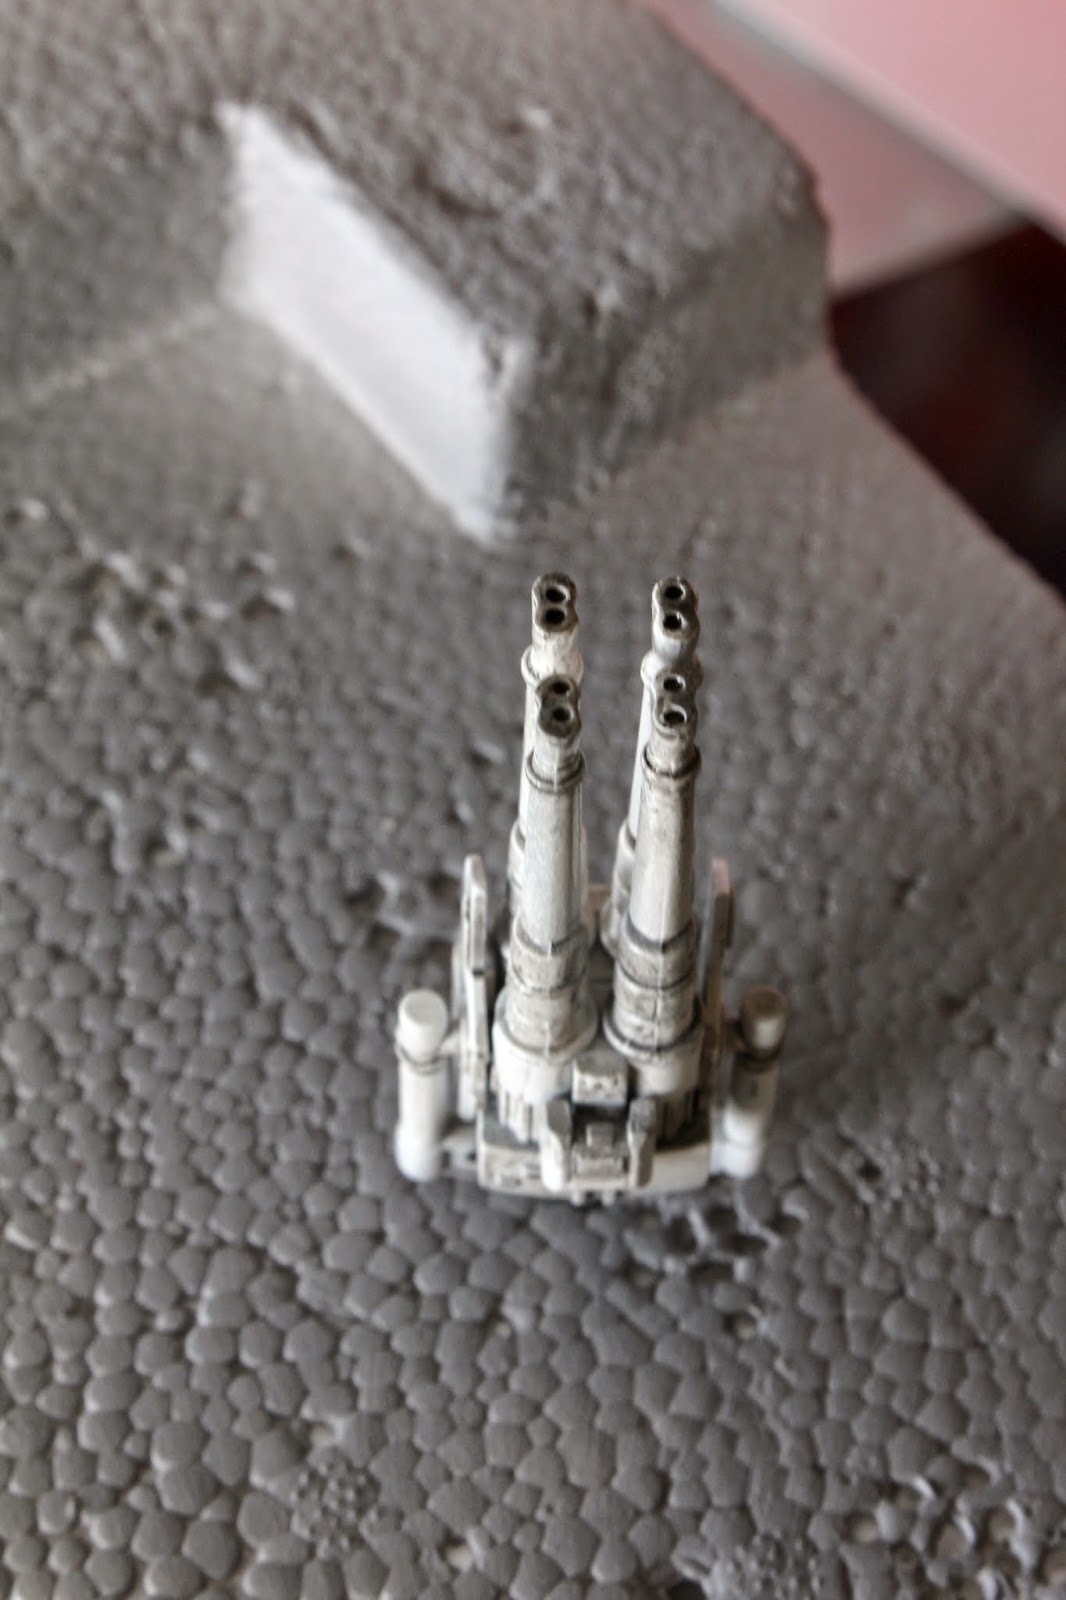
Better. With a little black in the center, they should look like barrels of the gun.

Time to airbrush and then weather with black wash.

Looking pretty good here as well.

This is the turret top as it came from the box. The model comes "pre-painted" for beginning modelers who want to take a shot. But by no means is it good enough or realistic looking enough.

I did a light dusting with the airbrush over the colored ares to tone them down. With the blade I'm scraping away bits for the top to look damaged and chipped.


Much better looking.


And with the quad laser cannon attached.

While I do like how it's turning out so far, until (way later down the road) I get the majority of the Falcon built, I won't really know how much more weathering to add. I'm sure there will be more that I'll be doing once fully assembled.


My next set of parts have shipped and should be here in the next few days. Just in time, since I've pretty much finished up these parts that I already have.
Great job !
ReplyDeleteWhich paint did you use for the canon ?
Managed to find the eBay seller for the fiber optics. For the console monitor though, what size LED/illuminator did you use?
ReplyDeleteI used a 2mm LED
DeleteThank you Chris! You and Chuck are just awesome and helpful guys. I will be ordering the fiber optics and leds from him soon.
Delete