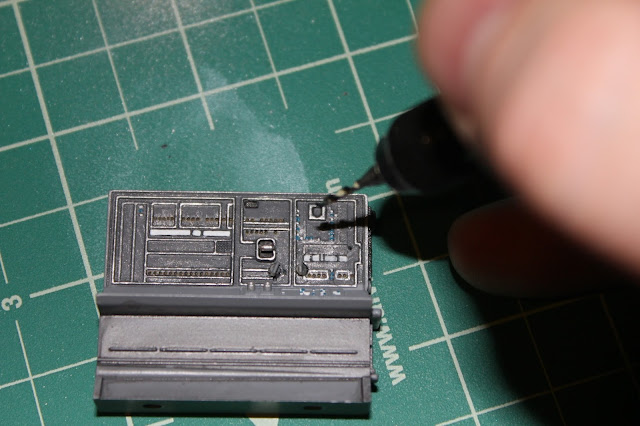
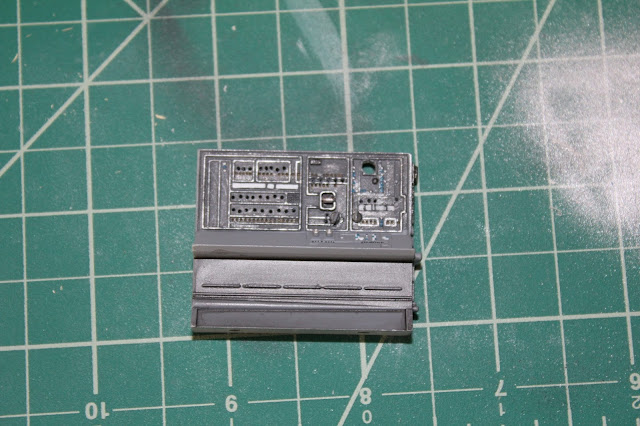
And here you have a size reference to see how small I've been having to paint.

Now that little black square in the center, there is actually some type of lever that should be in there that's in the movie.
So I've taken a very small piece of wire, cut all of the insulation off except for a little tiny piece.
I then painted it silver...
And placed it in the center of the black square for a switch.
Now there's a little tiny piece with a red dot that is supposed to be placed over the little square in the upper right. This piece is supposed to represent a red light. Not for me. Found a 2mm LED that should do the trick.
So I drill out the console for the LED.
Next step is to drill the little red dot of the little piece. WELLLLL, that didn't go so well. The piece, being so small, while holding it with tweezers and starting to drill just flew away, lost forever. I have a plan, but I'll deal with that later.
For now, it's on to drilling holes for the fiber optics.
And there we have it. All drilled out with 45 holes for 45 fibers.
And with the 45 fibers run into it.
Time to attach the red LED.
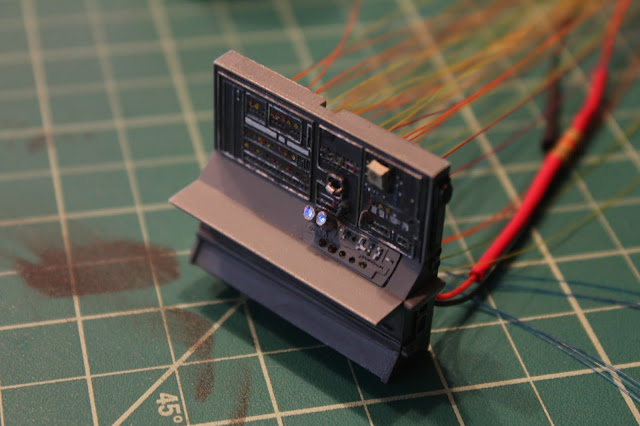
And there we have the console so far.
Now for that little piece that flew away. My plan is to glue several pieces of styrene together....
Drill out a hole the correct diameter....
Then mask off and cut around the hole for the correct size of the piece.
And there we have it. A new piece with the hole already in it. You can see by the size why it flew off when I started drilling.
BUT, another problem happened when drilling the holes for the fibers. At the bottom of the console is a binocular looking thing that should have blue light in it, which can be seen below.
Well, upon trying to drill out the center of those, because they are so small, the diameter of the fiber is to close to the diameter of the binocular, and left no real outer area. Basically, they got ripped off by the drill. Ugh!!!
So here's my idea for this. I used some shrink tubing for covering soldered wires. They're nice and round and the right diameter.
I can actually get 3 fibers inside the tubes. This is useful, because the actual binocular unit in the movie just has a blue glow because the light source is down inside. So because 3 fibers emit more light, I can pull them down inside the tube more and just get the light emitting, rather than the source.
Painted the shrink tube silver and glued to the console.
And the console back in the hall set. And you can see it's more of just a blue glow in the center rather than a harsh light.
That's a lot of fibers.
That about does it for now and pack 2 of parts. I have been notified that my next set of parts has shipped, so I'm expecting them sometime this week, which will give me more pieces for this hall interior and some final touches for the cockpit.
MORE TO COME.....


Another fiber optic question Chris. Are you mushrooming the fiber ends to keep them from pulling through?
ReplyDeleteI did not mushroom the tips, as they were colored and I didn't want to burn off that color. I just carefully held them in place when I glued them until dry.
ReplyDelete