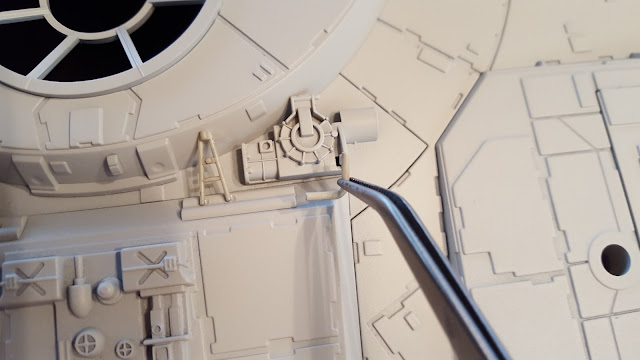
Then it was time to finally prime the entire bottom hull...
And paint the base color of the Falcon
Then a couple more detailed pieces attached.
So, in true fashion befitting myself, I'm going to have the red running lights around the exterior bottom of the hull. So I'm drilling 1.5mm holes for fiber that will run the 20 or so red lights.
And a test of a lit fiber. Should look very nice.
Just a little paint detail on the vector plate actuators.
And some of the actuators have dark grey ends rather than the Falcon color.
Fist set of colored panels taped off for painting.
So, here we go. Time to start airbrushing.
For the red panels, I'm actually laying down a coat of dark gray first, so when the red is applied on top of it, it'll give it a deeper red color.
Then the red applied over the dark gray.
Then on to the dark gray panels themselves.
Then light gray panels.
And a couple of yellow panels.
And there we have it. The colored panels are now done.
Now that a couple of the vector plates have been painted red, I did a little sandpaper action to them for weathering...
Then finally attached all of the actuators. Once attached, I started on some weathering and black washing of the back section. This is by no means a finished product. JUST THE BEGINNING.
I did also received my next shipment of parts. I am now officially just past the half way mark. Up to issue 52 now, out of 100.
Got some more upper hull frame and panels.
So for starters, put the frame pieces together.
Then, this section of the hull has a removable panel, which will expose the long corridor of the interior, which now has lighting.
Little metal tabs have to be glued into the hull...
Then tiny little magnets glued into the removable panel.
And there we have it. The beginning of the upper hull.
So there we go, painting has now begun on the lower hull, and upper hull is finally starting to get pieces and come together. I'm also still finishing up final touches on the hold interior, which will be posted later.
So stay tuned. MUCH MORE TO COME....


Fabulous beyond words.
ReplyDeleteMagnificent! ....cant await to see how it goes on.
ReplyDeleteyou are just magic!!
ReplyDeletei'm from italy and here we are at the number 15 :)
what color did you use for the base?
thank for all
The base coat is the Tamiya AS-20 Insignia White spray enamel, over a gray Tamiya primer
DeleteI had read about, but I wanted confirmation from you. Thanks, Andrea
DeleteThis comment has been removed by the author.
ReplyDeleteCould you give me wich color did you use for the red and the black grey please ?
ReplyDeleteI used Tamiya XF-53 Neutral Gray, and a mix of XF-7 Flat Red and XF-64 Red Brown.
Delete