BEFORE

AFTER

BEFORE

AFTER

Then spraying with primer....

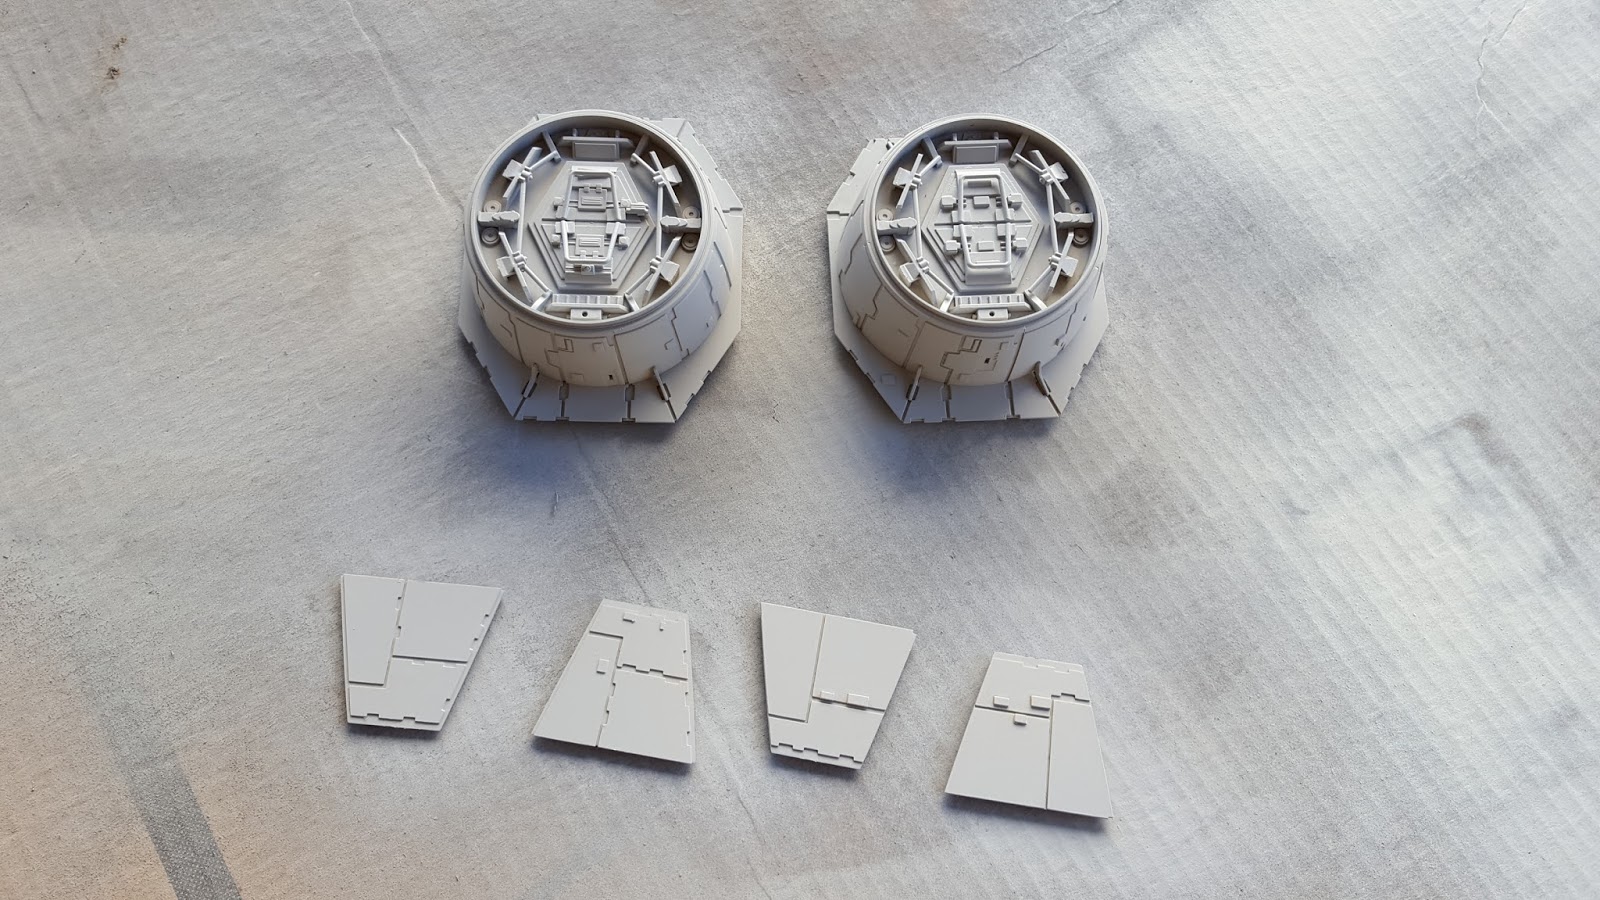
Now, before getting on with the painting, I need to attach the metal frames to the sides of the lower hull, as well as some internal metal supports that will hold the top once in place.


So, the instructions of the model call for you to screw the top hull to the side frame work, securing it to the bottom hull. THEN gluing the sides in place after that. Once again, I need to be able to get back inside, just in case an LED were to burn out or something. So as with the front tips of the mandibles, my solution was to make the sides removable. And I achieve this by using the very tiny strong magnets. You can see in the photo below how the frame has studs which fit inside of holes on the frame. There is a smallest gap between the 2. Just enough for 2 of my magnets. Viewing pt 9 of my videos on YouTube you can see just how well the magnets work.

I've attached magnets to the side piece...

and magnets to the metal frame. Might be a little hard to see, but they're there. 4 of them.

Now that I have a way for the sides to attach, on the the next portion.
I next drilled 2 holes at the bottom of each of the docking clamps for 2 caution light housings, as I did on the bottom hull in Pt 27 of my blog.


Then, as I've been doing now, some pre-shading of the docking clamps and sides with black airbrush.


Then the body color of AS-20 Insignia White.

I then mask off the red stripe areas on the docking clamps to paint....

And add some dark gray to a couple of spots in the center.

I first re-did the battle damage on the side of the port docking clamp. Using a dremel, I ground out the area a bit, then built up some putty around the edges, pulling them up a bit to create some jagged areas.

Taped off the 2 areas for the gray patches on both docking clamps....

Then airbrushed the damage with some gray, then some black on top of that.


Airbrushed the gray panel areas on the clamps...

Then some black wash and some airbrushing of gray and black streaks and some dirt.

Attached the caution light housings and there you have them.


Then some black wash to the sides, again as well as some gray and black airbrushing and some pastels of rust colors.

And the side panels the attach to either side of the docking clamps.

And in place for a test fit.


And a wide shot with the sides temporarily attached as well as the mandibles from Pt 28.

So almost there. I'm so close to the end. Next I just have a few modifications left for the interior, then it's attaching those parts, the top hull and then final paint.
So stay tuned. MORE TO COME....
I like the magnet idea. Are these the magnets you used? https://totalelement.com/products/1-8-x-1-16-inch-neodymium-rare-earth-disc-magnets-n48-250-pack?utm_medium=cpc&utm_source=googlepla&utm_campaign=gsa&gclid=CIHgsqHHhtQCFQKnaQod6noBCA&variant=26415909189
ReplyDelete