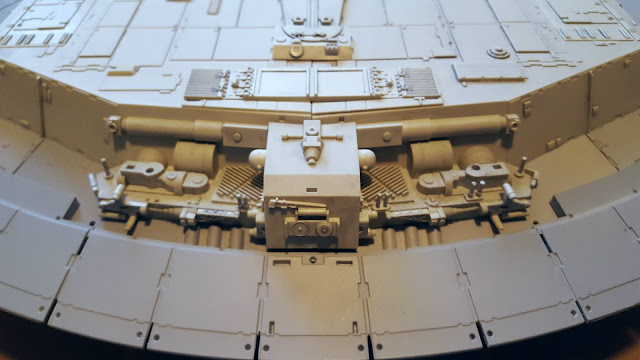
For starters, we have the landing gear cover plates which need little magnets put in them so if not using the landing gear, the ship can appear to be closed.
So there are little metal pins to insert into the landing gear area...
Very tiny little magnets go in the door panels....
And there we have the landing gear areas sealed.
Next up are some pieces that attach to the rear of the bottom. Pretty self explainitory.
And the process begins of finally permanently attaching all of the hull plates to the metal frame. Beginning by laying out the plates in the order in which they go on.
All of the plates are attached with very little screws.
They need to be attached in a particular order due to plates overlapping each other to make the bottom seamless.
And all screwed down.
Next up is attaching the remaining bits to the bottom. For starters, I've decided (as usual) to modify the model a bit. First off, the bottom of the plates will most likely be seen in the engine area and there are part #'s and mold separation marks that need to be filled and sanded.
You can see the little circle marks and the part # here.
So all filled and then will be sanded.
Then my other mod is that the vector plates are not physically separated. So I'm going to cut away between the plates to make them separated, which they would need to be, to be able to independently move.
And one section cut.
And the vector plates attached to the hull.
Then the landing gear is attached...
Now the holes at the rear of the Falcon are where the pieces attach that were put together early above.
So they have now been attached at the rear.
Then the vector plate actuators are attached...
Then it's attaching all the little detail greeblies around the hull.
And there we have a pretty much completed lower section of the Millennium Falcon. She's huge, and definitely looking like the Falcon now. And, while I do have the 2 recess sections that fill in the 2 rectangular holes in the front, I won't be putting those in until I've painted the lower hull section. The recesses will be painted separately since they are a different color scheme and inserted at that point.
So there you have it. Half way through the build now!!! Next up will probably be finishing up the interior hold section with corridor lighting and final details.
So stay tuned. MUCH MORE TO COME....


Wasn't sure when I was going to start applying the actual plates to the completed underframe - looks like I can do so now, thanks for all the pics.
ReplyDelete