During my vacation and remodeling, I've had 3 shipments of parts arrive (packs 13-24), as seen below.
A lot of parts for more of the interior corridors and more framework for the body. So I decided to put together all of the framework that has arrived and check out the size of this thing.
I also had some little pieces to attach to the outer hull of the cockpit.
Before the pieces are attached....
And after pieces are attached. More pieces are visible in the bottom portion of the hull.
There's also an exterior hull portion that's slightly embedded in the body which I also assembled.
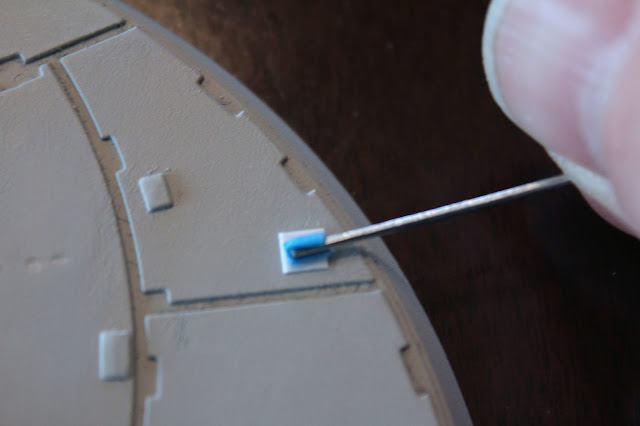
Next up, upon looking at reference photos of the Falcon for painting and such, I came across some photos of the 5 foot model used for Star Wars Episode IV. This model I'm working on is a scanned replica of the 3 foot model used for The Empire Strikes Back. But due to the larger size of the Falcon for Episode IV, more detail was able to be added. So I decided to add a little more detail myself based on the 5 foot model reference. Particularly, the gun turret. I noticed that there are many more little raised square areas around the turret not present on the 3 foot model. So using some styrene, I cut out little pieces and glued them to the turret.
There's also a little more detailed raised area that I freehand cut out to place on top. Took about 5 times before getting a good enough piece to work.

Here, all the little pieces are glued down for added detail, which you can see as white styrene.

And then I primed for painting.
Here's a before and after showing the difference.
Originally in this blog, I mentioned that I planned on keeping the pieces as they arrived and just adding paint detail to them. Well, I changed my mind and decided I'm going to repaint the entire model from scratch so as to be completely original by me. So I primed all the outer hull pieces that attach to the frame work so that I have a fresh canvas to begin my own painting and weathering on.
Well, there we have it. Another short but productive post. I am going to begin doing more work on the interior, so look for more posts soon of that.
Stay tuned. MUCH MORE TO COME.....


Really enjoying your efforts. Unlike you, I won't even be opening a single package until I have every one. The timing of this will coincide with my retirement, and what better way to launch the "me" era of the rest of my life!
ReplyDeleteHey, could you post a link to the 5-foot images you mentioned? Thanks.
I just did a lot of google searching. But here's a few sites I found with some good photos.
Deletehttp://www.collectivemodels.com/gallery/star-wars-millennium-falcon/
https://www.flickr.com/photos/spudart/8424800716/in/photostream/
http://www.starshipmodeler.com/starwars/smith_sw.htm
Would love you to do a you tube vid of all this
ReplyDeleteWould love you to do a you tube vid of all this
ReplyDelete